Monday, September 3, 2012

World Cerebral Palsy Day September 04, 2012


Tadpoles,
   Today I decided after reading a post from a friend, Mrs. Judy Gilbert that I was going to complete a special manicure. Mrs. Judy has twin grandsons, Aidan and Cian. The twins were born June 24, 2009 and were premature. Aidan developed cerebral palsy due to scarring from a brain bleed along with his prematurity.


Mrs. Judy's grandbabies are so precious. I decided that since tomorrow is World Celebral Palsy Day 
(09/04/2012) that my manicure would be dedicated to Aidan.

Left hand

Right Hand

Right index finger

Left hand

Right Hand

This is Aiden with his contagious smile and him with his Grandmother Judy.

  I used several different stamping plates to complete this manicure. Starting on my left hand: :middle finger 
(BM321), ring finger (Cheeky XL C), and pinky (BM317). Right hand: middle finger (My Online Shop), ringer finger (BM 321), and pinky (Cheeky XL C). 
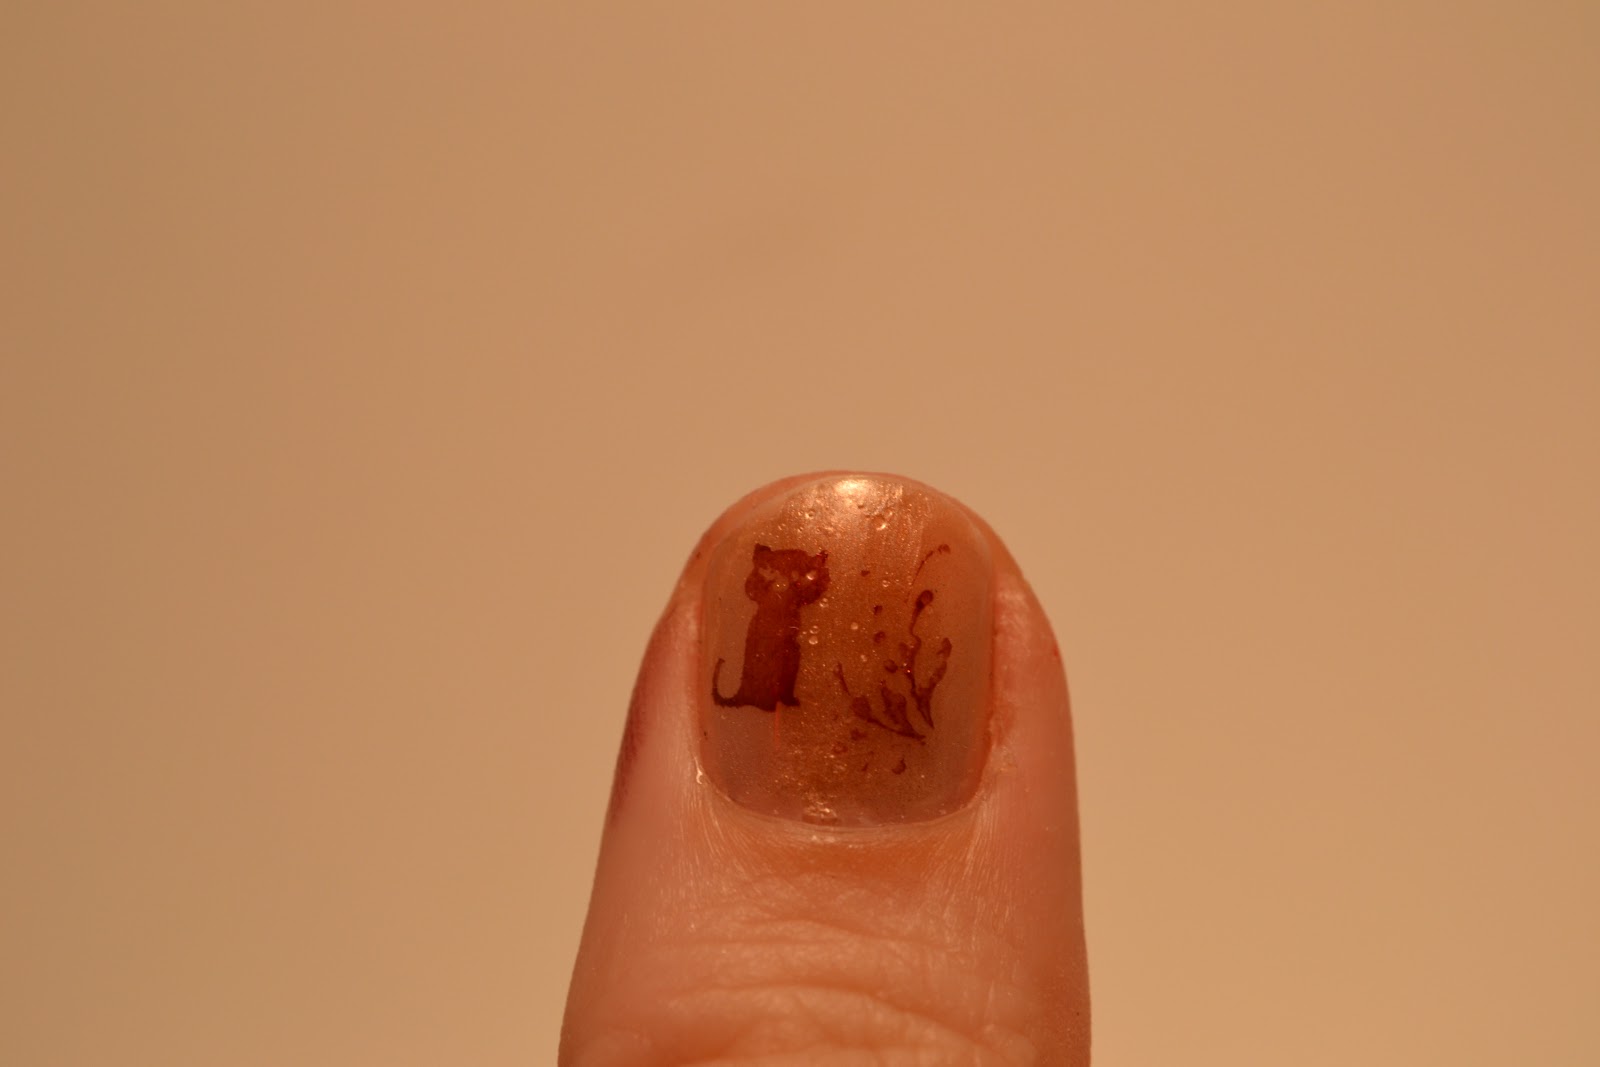
   I used the base polish of Sinful Colors, 101, Snow Me White and the stamping polish is Sinful Colors, 960, Envy.  I made the water decals of Aidan and Mrs. Judy on my thumbs along with his name. I copied the World Cerebral Palsy Day imagine from the website.

Please let me know what you think. Wear your green to show your support tomorrow.

XOXOXO
Chrisie 

Saturday, September 1, 2012

PCOS Awareness Mani for Awareness Month!

Tadpoles,
   Today's post is a special one, I am showing my support for PCOS, Polycystic Ovary Syndrome.  PCOS is when there is a hormone imbalance in a woman that interferes with ovulation.  Unfortunately there is no cure for PCOS, and many times a patient can be misdiagnosed.  Below are only a few symptoms of PCOS...

A change or irregularity in your menstral cycle
Development of male-like characteristics
Changes in your skin
Depression
Increase in weight
Miscarriages
Infertility
Problems breathing while asleep

This month is Polycystic Ovary Syndrome awareness. Let's all show our support by sporting your teal manicures.  


I put this on both of my thumbs.

   I used Everybody Loves Redmond as the base polish. To show that I love to support woman that have this syndrome. I used Sinful Colors, 950, Savage as my teal stamping polish. I used Ebony hates Chris as the black stamping polish. I used several different stamping plates to create this manicure: BM 321, BM09, Mash 38 and Cheeky C. The accent pinkie is used China Glaze, 883, Mrs. Claus.
   If you do not know about PCOS. Check out the following sites to learn more:

Tuesday, August 28, 2012

Nail Wheels with Help

Hello Tadpoles,
   I was going though Pinterest again and found another awesome idea. I wish that I thought of this. Once again, I tweaked it some to help me out. 
   Kayla at Nails of Kayla Shevonne came up with drilling holes in here nail wheels so that she could use a metal rings to attach them.


I attempted to connect my nail wheels with the same metal rings. After sitting in the Nail room, my husband and I came up with using Floral Wire. I found several different colors of the Floral Wire the Dollar Tree. 


I decided to use the red Floral wire first. I put together all of my different polishes. I used wire cutters to manipulate the wire so that I could continue to use the wire when I add more polish wheels. Once they all were connected with the floral wire, I hung them on the side of my bookshelves. I attached some Command hooks and printed off the name of each brand of Nail Polish.


   I hope that you enjoy these ideas. I am learning more ideas that I will share with everyone. Let me know what you think.
   Love, Chrisie
Cupcake Mold Pizzas from Pinterest

Hello Tadpoles,
   I have another recipe that I would like to share with you that I got from Pinterest...I just love all of the choices that I find on Pinterest.
   Allison from All My Great Ideas Are Really From Pinterest wrote these on her awesome food blog. I tweaked them some.
   I sprayed the tins with butter flavor Pam. I decided to bake the crusts in the muffin tins for 7 minutes. Someone mentioned on Allison's blog that their crust did not fully cook.


After the seven minutes, I topped the crust with pizza sauce, pepperoni and mozzarella. I cooked the pizzas until the cheese was brown.


After allowing the tins to cool down for 10 minutes, I removed them to cool further.


   I allowed for these to cool for another 10 minutes so that I would not get my mouth burnt. My mother, sister, and I ate ours immediately. They are awesome. I took my husband some to eat before he went to work. He reheated them and stated that they tasted great. My brother is a truck driver and came home and ate some. He too stated that they were awesome. He is planning on making some to eat while on the road driving.
   I have tried several other recipes that I will share with everyone. I hope that you try these. They are great for kids to help you with.

Love, Chrisie

Pineapple Upside Down Cupcakes from Pinterest

Hello Tadpoles,
   I have another addiction!!!!  It is Pinterest. I found this recipe for Pineapple Upside down cupcakes and decided to make them. Rhondi at Big Mama's Homemade Kitchen made her recipe from scratch. I decided to go the easy route and used a pre-made Pineapple Upside Down cake mix. 
   I used the Betty Crocker cake mix.  I added some of the pineapple juice in the cake mix. I decided to use the crushed pineapple and the brown sugar from the cake mix. I used a 6 jumbo muffin tins. I used 2 making a total of 12 jumbo muffins. I placed the butter and brown sugar mix in the bottom of the tins. I placed crushed pineapple on top of the brown sugar along with a sliced pineapple and cherry in the center. The cake batter was added on top of the pineapple slice. The oven was heated to 350 degrees. The tins were placed in the oven for 25 minutes. Once the time elapsed the tins were removed and rested for 30 minutes. I used a knife to go around the cakes to make them easy to remove. A cooling rack was used to flip the cakes out of the tins. I enjoy eating them warm. This is what they looked like.


   I hope that you enjoy making these as much as I did. My father and husband love Pineapple Upside Down Cake. Let me know what you think.. Again, Thank you Rhondi.

Love Chrisie


Sunday, August 26, 2012

Look what I got from Canada!!!!

Hello Tadpoles,
   I am so excited to share the beautiful gifts that I received from my friend, Candace. Candace has her own blog at http://lifeaskandistar.blogspot.com. I met Candace through a Facebook group that was called Purple Crumpet Fairy Challenge. It has been changed to Crumpet's Nail Tarts that is about nail polish and nail stamping. 
   Candace and I connected quickly over nail designs. We also were able to relate in another area of our lives that most people do not share. We both suffer from anxiety and depression. For the both of us, having a friend that can understand and relate makes it easy to befriend them. We both have different causes for our anxiety and depression. Mine was having to deal with the loss of my left arm caused by an injury. I will let Candace explain her anxiety and depression at her blog, http://lifeaskandistar.blogspot.com.
   Well, Thursday, I was chatting with Candace on Facebook and she was like a kid that had a big secret to tell me. She made me laugh because she asked if I had checked my mail box lately. I said "No", she was like "OK". I asked her why. She was like if I did or did not send you anything then don't mind the sales sticker...Again, I just laughed..
   I had sent her some card making supplies due to having to leaving them when she moved. I knew that she had been having a rough couple of months so I thought that I would send her some stuff to help put a "SMILE" on her face. I did not expect to receive any stuff in return. But she sent me some of the coolest stuff. Check it all out....

   I "LOVE" this the most. She draw and used colored pencils to make the design. Please excuse the crocked picture. I couldn't get the picture to stand up. This is the coolest thing. I plan on getting a frame for it. I will post pictures with it in a frame. She sent me some cool nail decal stuff too...


   After all these items, I was like shaking my head. Then I found this at the back ..

   I was so happy and had a big "SMILE" on my face. I am so eager to use the stamping plate. I love using large imagines on my nails since I have wide thumbs and fingers. It sucks that I only have 10 fingers...LOL..I know that Candace wants me to go crazy a little more...There seems to be a long list of instructions with the Minx stickers...I love her for it all. However, she did not have to send me anything. I sent her stuff just because she is my friend and I did not like that she was unhappy.
   I will post pictures on my manicures with all these beautiful items that "Canadian Candace" sent me. I am so glad that we are friends.
   Thanks everyone for reading...Have you made friends with someone through a facebook or blog? If so, feel free to share.
   XOXOXO, Chrisie

Wednesday, August 22, 2012

How I made a Bitching Silicone Stamp!!!!!!!

Tadpoles,

   I DID it. I DID it...  I was able to make several as my husband called them,"bitching" silicone stampers. First, I had to figure out what kind of material was I going to use to make the stamp out of. I knew that I had to use silicone due to it having to being pliable. Off the Lowe's, I went. After talking to the "Craft Lady" as she was called. We determined that the best silicone to use was "GE Silicone II* Supreme Clear".


   Once locating the proper silicone, Molds were next. I needed to determine the shape(s), I wanted to make. I know that on several pages on Facebook, there were requests for a square clear stamper. So I sat in my Nail room, scratching my head and it fit me. How about a small, large and square stamper. My issue was figuring out what molds could I use. Off to Walmart I went.
   I was in the Walmart hardware isle for what seems 2 hours. While walking up and down the isle, I found these square furniture sliders and a package to sink stoppers.


  Off to making my creations. I used Vaseline to coat the slider and stoppers. I did not want the silicone to stick to the molds. For the next part, I had to have the Husband help me with the caulking gun. I can't use my  left arm and it was impossible for me to squeeze the caulking gun. He squeezed out enough silicone to fill the slider and the stoppers. Once they were filled, I used a piece of cardboard and leveled the silicone to match the sides of the molds. Next, was the hardest part for me to do. I placed the filled molds in a separate room so that I would no mess with them. They needed to cure. After 12 days, my creations were complete.


   I know that 12 days, was a long time but I really want the silicone to set. I looked at the stampers very closely. Here is what I saw:


   As you see, that all of the stampers have air bubbles in them. The small stamper had too many air bubbles in it causing me to dispose of it. The square stamper also had air bubbles in it but it did have a small in the corner that I could use. I cut out that area. Finally, the large stamper just had a long air bubble that ran the length of the stamper. So what I did was cut into the air bubbles and marked it so that the stamper could not be used. It would also note were I could hold the stamper.


Piece from square
Large stamper with my finger over the air bubble marking.
   I decided to see what my creations could do. I used several different stamping plates and 3 stamping polishes. Are you as excited as I was? Here goes, enjoy!!!


   The only problem that I had was the same as with regular stampers, not picking up all of the imagines. I buffed it and they worked. I think that after playing with the stampers I will get better using them. Just like the other stampers. I thought that since the silicone was clear that I would be able to see through the stamper.     But I figured out that the only way that could happen is to make a very thin stamper. 
   I decided to make several more stampers in an attempt to get all of the air bubbles out of the silicone.  I am so excited to see what my future stampers will be like. I think that my husband is eager to make more as well. 
   I hope that you were not bored with this post since it was photograph heavy. Please if you have any suggestions in making more stampers, feel free to comment. 
   Have a great "hopping " day..